
Some of the links below may be affiliate links, meaning, at no additional cost to you, I will earn a commission if you click through and make a purchase.
For the love of making books I’m always excited about book creation and the prospect of trying a new self-publishing tool or platform.
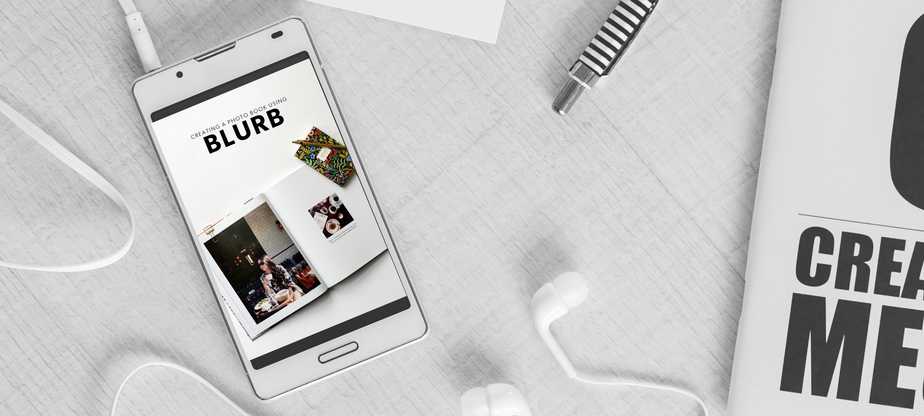
Partnering with Blurb Books I was giving the opportunity to try their book-making platform BookWright.
It took me around two weeks from conception to submission and publication. This is fast-track characteristic is one of the things I most appreciate from self-publishing itself. It is a seamless process from start to finish and beyond.
Through BookWright you have access to distribution channels and its own marketplace. But you can choose to omit that and keep your book project private as well.
Maybe you just want to make a tangible portfolio of your work in the form of a Trade Book or Magazine or gift your family a personalized photo album. The formats and channels are all there for you to choose from.
#1 Get Started
To get started, I downloaded the BookWright publishing program to my computer.
I decided to create a new book from scratch to get a better sense of the different options available for layout and design.
#2 Pick Format
I browsed the different formats and picked the Trade Book style.
It was a concept I had never seen before. I got more clarity on the style and its functionality by watching the Blurb tutorial on Trade Books, which was very enlightening and inspiring.
#3 Choose Topic
For the book’s theme I chose a personal celebration of couple-hood, to give as a gift.
I searched for some inspiring images on Pexel.com picking those that I thought would go hand in hand with the short essays I had written.

#4 Drag & Drop
I easily uploaded my images into the editor and began to drag and drop in position.
The image options let you customize your visual elements in a variety of ways, zoom in and out, make them spread out or focus in on a particular area of the image. It also has a nifty alert that lets you know when the image has overrun its optimal size for printing.
I played around with the images for a while, then I added the text that paired with the images and arranged the format to fit.
The editing tools also alert you if the text falls out of the appropriate area for printing. I edited the fonts in the titles and body of the text. Once the text and images were in place and I felt happy with the result I submitted the project.
#5 Proofread
I was pleasantly surprised by an additional proofreading step.
Thanks to this final step I could catch formatting and grammatical problems I had missed.
#6 Print Your Copy
Once I had reviewed the complete draft, I submitted it for publication and ordered a copy.
After submission, you can also quickly move on to setting up your distribution channels.
Congratulations your Blurb book is done! now you have a tangible proof of worth, a professional portfolio, a travel journal, a personalized gift for clients, friends or family.
To read my final impressions/review of Blurb Books and the BookWright platform, and see the final result, stay tuned to my next post on the topic.
#UrCre8ive
![]()
**This post contains affiliate links. If you decide to make a purchase using these links we’ll make a small commission. We only partner with and promote products and services we believe in. We do not encourage any purchase that does not feel right to you, your budget or your creative entrepreneurial goals**


1 Comment